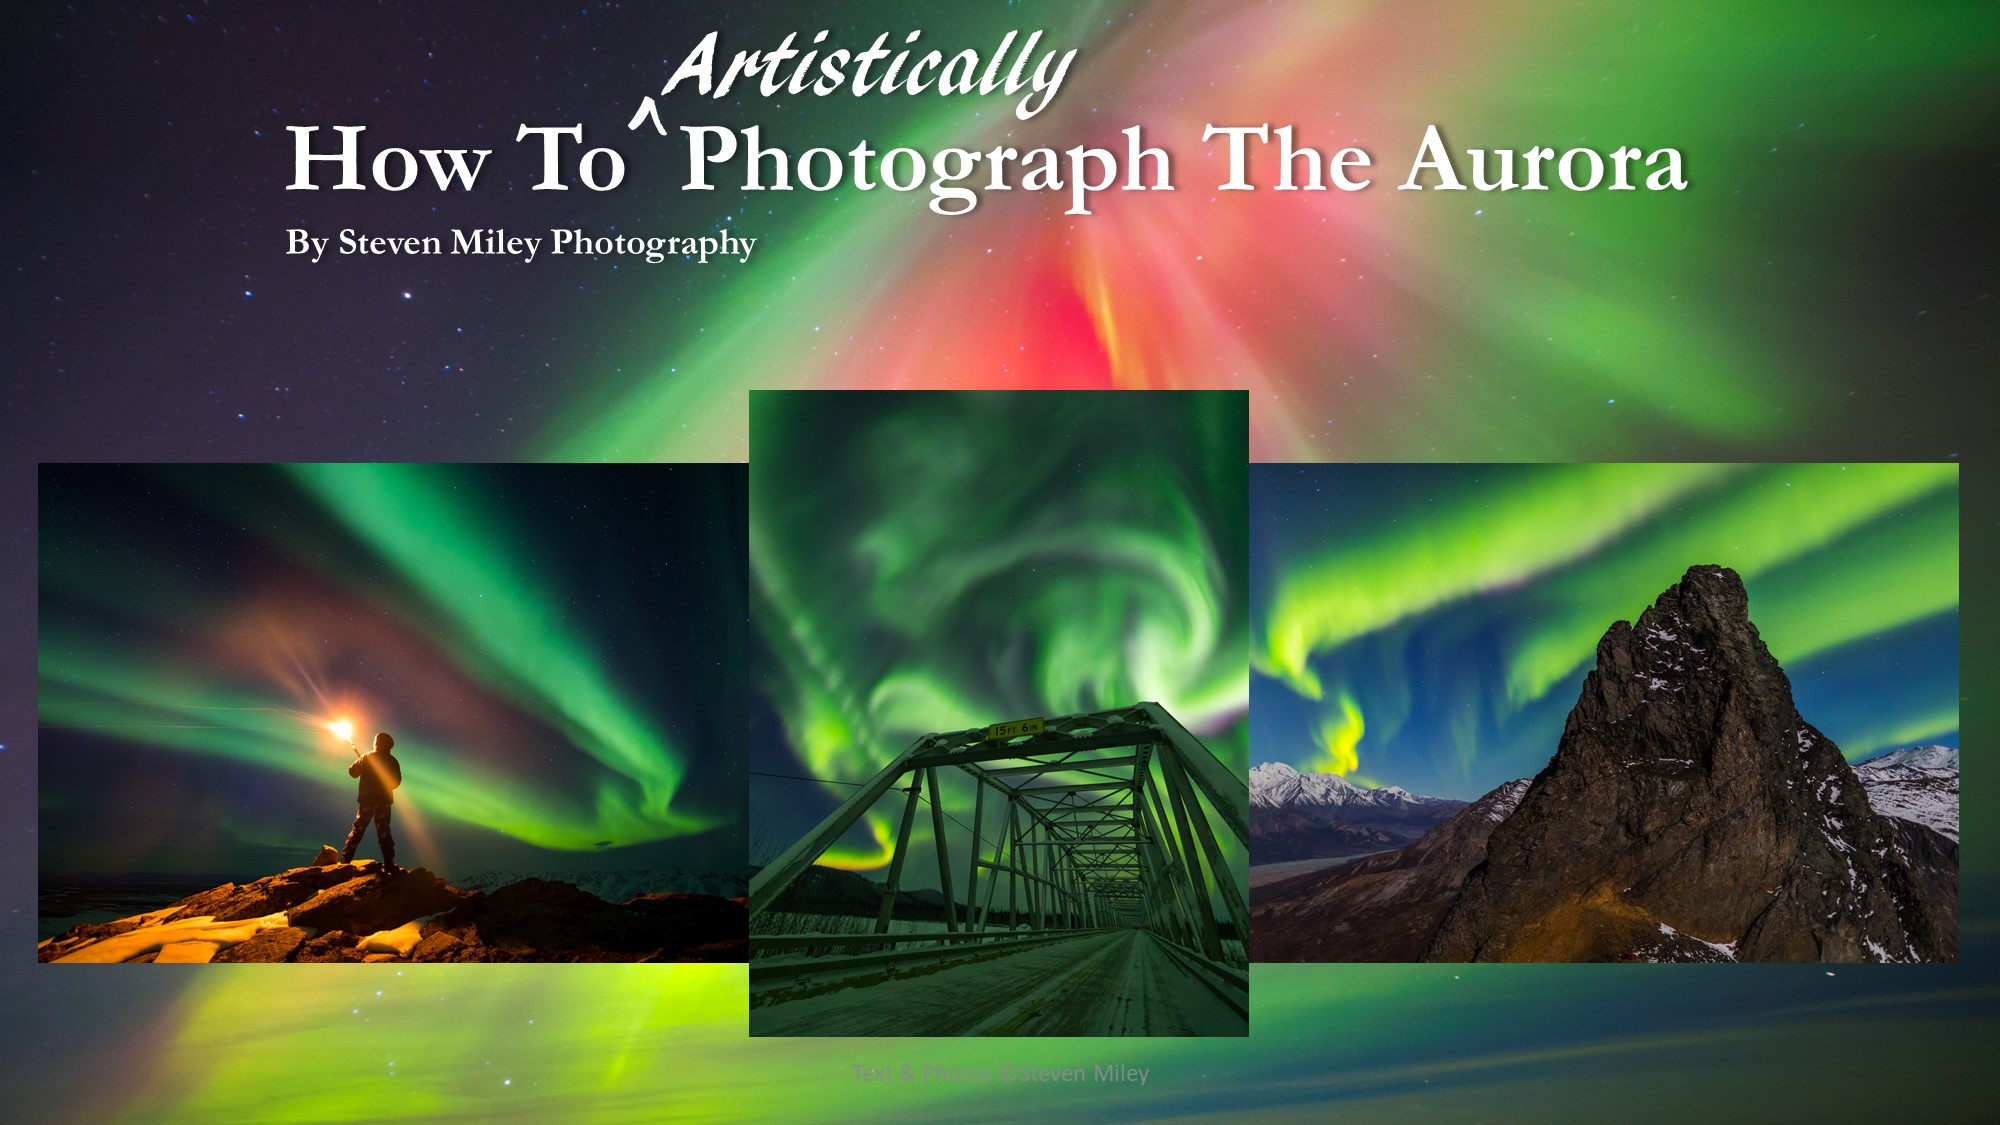
I recently updated my aurora photography guide How To Artistically Photograph The Aurora, which covers the fundamentals of aurora photography and provides tips for creating artistic aurora images. While working on the update, I realized there are some common mistakes beginners make that deserve special warnings in big, bold letters. Even if using professional-level photography equipment, these mistakes can ruin your images or cause you to miss shots. If you’re new to aurora photography, study the warnings below and avoid learning these lessons the hard way like I did!
1) Don’t rely on an aurora photography guide that hasn’t been updated since the early 2010s.
High ISO performance of DSLR cameras has improved dramatically in the past decade. Photographers who shot the aurora with film and digital cameras in the 2000s were handicapped by limited high ISO performance and some of the older guides you’ll find online were written assuming you would never shoot above ISO 800. Also, photographers in those days may have settled for more subdued (underexposed) aurora images because of their ISO limitations. Today’s cameras can provide acceptable quality at ISO 3200 and beyond. Plus, aurora photography has become much more popular in the last 5-10 years and you’ll find more photographers (like me) offering better creative advice. There are many new ways to track the aurora, as well.
2) Don’t wait until you’re standing outside at night in subzero temperatures to learn where the buttons and dials are on your camera!
At minimum, you should know how to change your aperture, shutter speed, and ISO quickly and efficiently, preferably without needing to turn on your headlamp to find the buttons and dials. On many newer cameras with touchscreen displays you can change all of these settings quickly from the display itself, though using the dials and dedicated ISO button is still faster. The aurora can brighten very suddenly and fade away 30 seconds later, so if you can’t quickly change your settings you may wind up missing or overexposing the best moment of the night. It also helps if you know how to access other settings like mirror lock-up, timers, etc., and the image playback & zoom buttons so you can review your images.
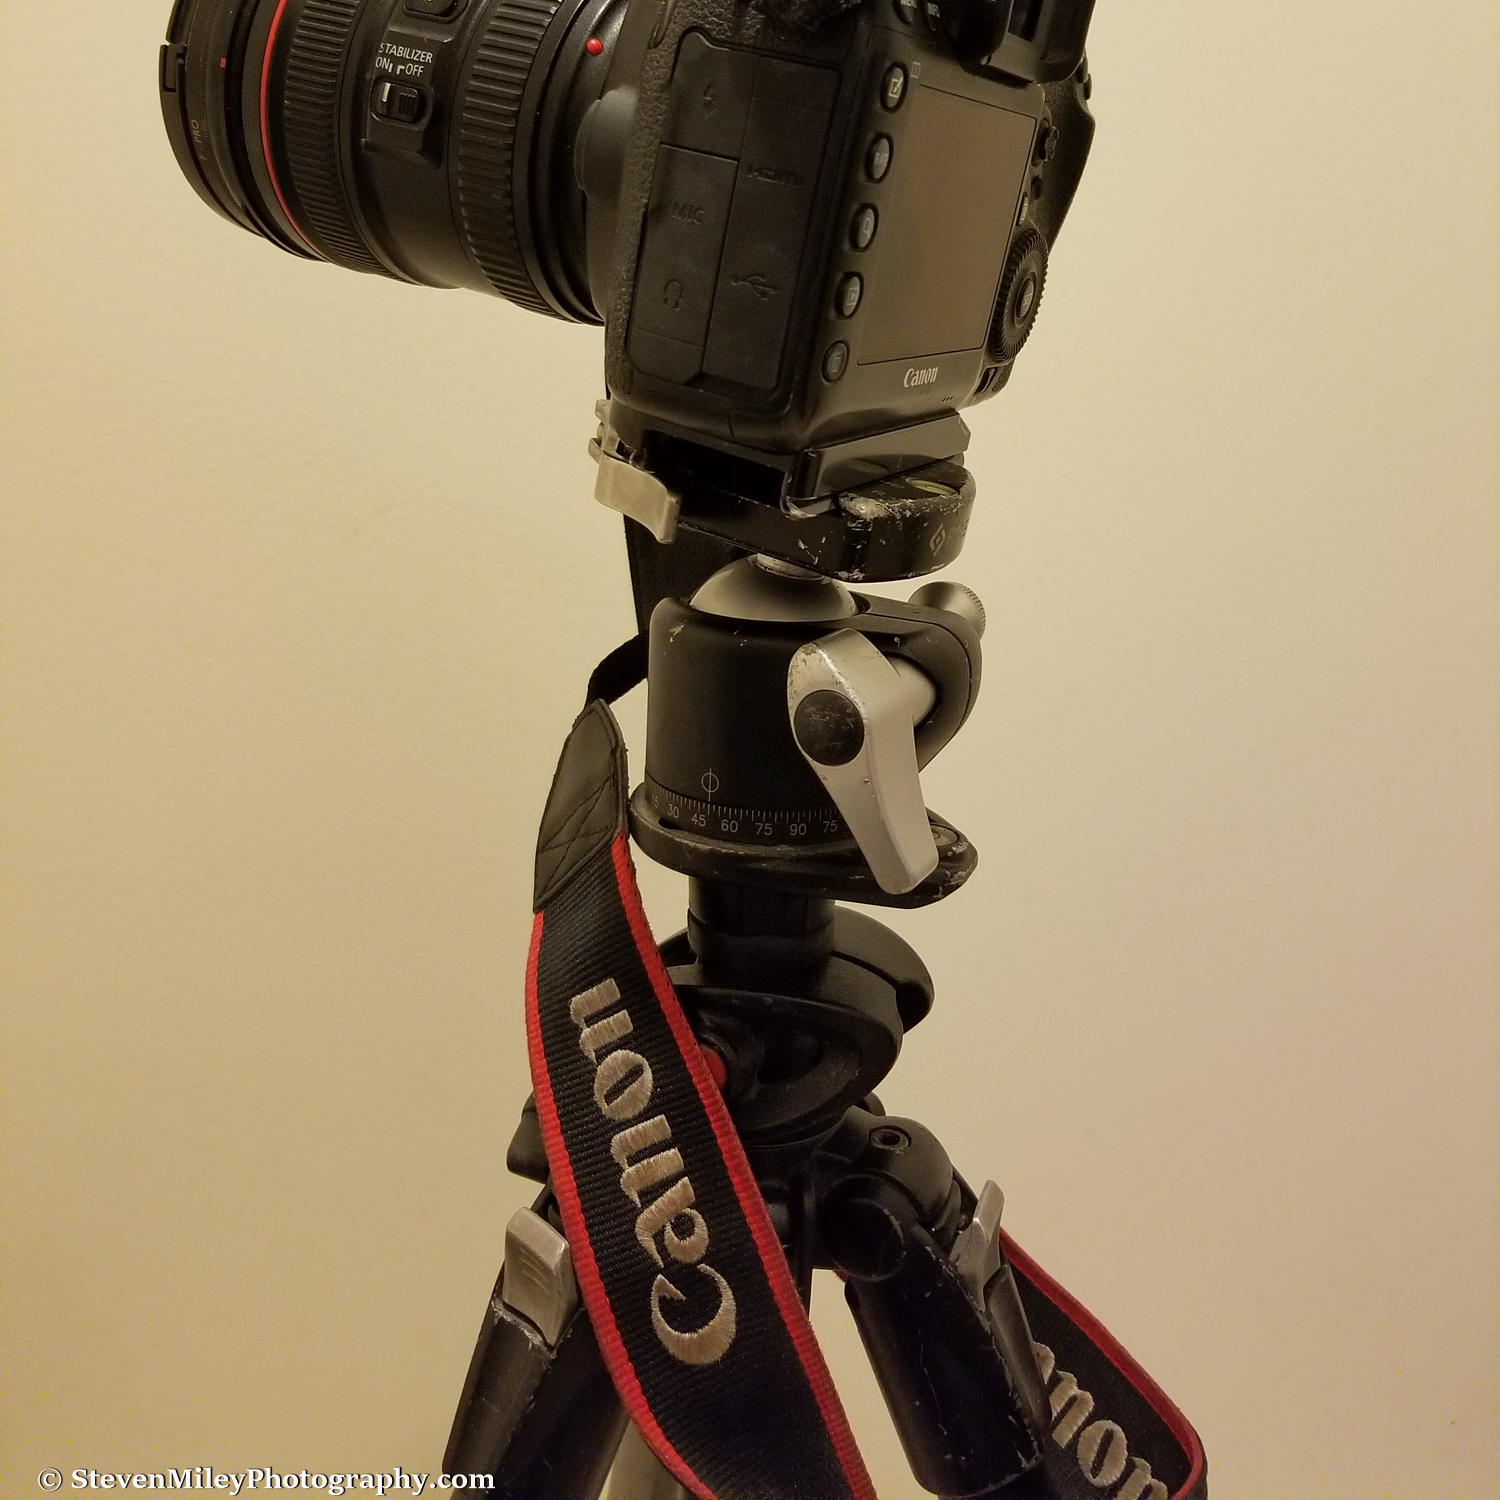
3) Don’t wait until you’re standing outside at night in subzero temperatures to learn how to control your tripod!

Camera can’t be fully tilted into portrait orientation without leveling tripod. Using an L-bracket can prevent this situation and give more precise control of your camera in portrait orientation.
I personally think learning to control your tripod efficiently in the dark and cold is the MOST DIFFICULT aspect of shooting the aurora. The aurora continuously moves and changes shape, so you constantly need to readjust your camera’s positioning while photographing it. Many photographers aren’t used to shooting on a tripod, let alone operating one in the dark with cold fingers. It takes practice to immediately reach for the right knob and adjust your camera’s orientation quickly. With some tripod heads, you can easily attach your camera in the wrong orientation and this can also cause problems. Learn how to properly use your tripod and build the muscle memory you need to operate it quickly in the dark, or you will wind up missing shots.

Camera can’t be tilted up further without rotating the drop slot behind the camera. Camera is also attached backwards, which could cause additional interference in other orientations.
Every guide I’ve seen recommends using a ball-head for your tripod when shooting the aurora, but I used to use a pan-tilt head and it worked well for me. In fact, it had big handles that were easy to work while wearing mittens and the rubber grips didn’t immediately freeze my fingertips. (When you need to adjust a tiny metal knob in subzero temperatures on a ball-head and need to take off your mittens, your fingers get cold very fast.) If I took the time to level my tripod, I could also easily keep my shots level with the pan-tilt head when I moved my camera; with a ball-head, every time you adjust the camera you need to re-level it, which is more difficult at night when it’s hard to see through the viewfinder. The biggest con to my pan-tilt head, other than the size & weight, was it’s inability to tilt the camera up more than 30°, so occasionally I would need to adjust the tripod legs to point my camera higher into the sky. A ball-head usually has a drop slot where you can tilt your camera so it’s facing vertical or so you can tilt your camera into portrait orientation. However, be advised that when your camera is oriented in certain directions on a ball-head, you may not be able to tilt the camera back very far without rotating the ball-head to find the drop slot.
Also, I highly recommend using an L-bracket to attach your camera to your tripod because it will enable you to quickly switch from landscape to portrait orientation without significantly affecting the placement of your lens. Without it, you will be forced to use the drop slot on a ball-head or tilt your camera laterally using a pan-tilt head, which will disrupt your lens’s position and shift the foreground in your frame, and, if your tripod isn’t perfectly level, you may find that you can’t actually tilt your camera fully into portrait orientation without adjusting your tripod first. Once your camera is in portrait orientation, you’ll find it isn’t nearly as easy to control where you point your camera as it is in landscape orientation. With an L-bracket, you just pop your camera off your tripod, turn it, reattach, and you’re ready to keep shooting with the normal range of motion available to you in landscape orientation and the foreground will remain in the same place.
4) Don’t set your White Balance to auto or “daylight”.
When I started photographing the aurora in 2012, there were far fewer guides available online than there are now. I remember the first guide I found told me to set my white balance to the “daylight” setting, and several guides still do so today. I wondered for a long time why the aurora in my images looked an ugly yellow color and the sky & landscape didn’t seem to have that bluish “night” feel that I perceive with my naked eye. The answer was simple: “daylight” white balance results in dull aurora and night sky images in most circumstances.

White balance set to 5200K, Canon’s “daylight” setting.

White balance adjusted to 4000K in Lightroom with no other adjustments.
I’ve found over time that a white balance setting near 4000K gives the best color in the aurora and usually makes the sky & foreground look optimal as well. This setting may need to be adjusted depending on the mix of other light sources in the frame and your personal preference. As long as you are shooting in RAW format, you can change the white balance later in post-processing without losing any quality. If you are shooting JPEG instead of RAW, you should manually set your white balance to 4000K (+/-) in your camera because you will not be able to fine tune your color as precisely later. (You may wind up with a blue tint to your image if you try to change your aurora from ugly yellow to green the way I did using the RAW file in the example images above.)
5) DON’T LEAVE A FILTER ON YOUR LENS, including UV filters!
Filters will leave concentric rings on your images. All of them. Take them off. Don’t forget. Also, just in case you’re an old-school film shooter who has always kept a UV filter on the front of their lens, be advised that UV filters don’t provide any benefit to your images when using a digital camera and they can introduce flare and other unwanted artifacts in your shot, so consider removing them for good. I shoot regularly in incredibly rugged environments and bump/ding/drop my camera on rocks, branches, etc., all the time; it’s better to just keep the lens cap on, because it will do a better job of protecting your lens than a thin piece of fragile glass.
The neck strap can get caught on your tripod or swing during an exposure causing blurriness.
6) Don’t forget to turn your camera’s display brightness down.
After your eyes adjust to the dark, the camera display will look much brighter than it does when viewed in a well-lit environment, possibly leading you to think your images are properly exposed when they are actually significantly underexposed. Turn the display brightness down so you can rely on the image preview to ensure your exposures are correct—the best setting will depend on your particular camera. (For Canon cameras, I suggest the “2” setting.) The best way to ensure your exposure is correct is by checking the histogram display!
7) Don’t forget to take the neck strap off your camera.
It can get caught on your tripod and it can also cause blurriness in your shots if it’s swinging during an exposure or blowing in the wind.
8) Don’t forget to turn off your headlamp, all the lights on your vehicle, your phone’s display, etc., when taking an exposure.
This one seems obvious, but sometimes you may not notice that weak red glow from your vehicle’s tail lights 20 feet away until it turns the snow in your foreground red. Vehicle cabin lights can also show up in an exposure. Beginners who aren’t used to shooting at night may have a hard time remembering to turn off their headlamp. Phones and any other sources of light can also pollute your image in a long exposure. If you have non-photographer companions with you, politely explain to them the importance of keeping unwanted light out of your shot while you’re photographing the aurora. And if you’re around other photographers, be careful not to pollute their shots as well!

Look close and you’ll notice the stars are seeing double in this exposure and the tree outlines are blurred. I think my tripod shifted slightly during the exposure, either from a slight bump on unstable gravel footing or on its own from not being tightened enough. The result was a missed shot of one of the most spectacular curtain formations I’ve seen. (Ouch!)
9) Don’t forget to check your tripod is stable.
When placing your tripod on snow, tundra, rocks, or any type of uneven ground, you need to take particular care to ensure your tripod’s footing is stable. Give your tripod a slight nudge to see how easily it moves. If it moves easily, try to find more stable footing for the tripod or narrow the tripod legs and force them deep into the snow. Enabling mirror lock-up and a 2-second time delay may help avoid some vibration caused by a shaky tripod, but it won’t prevent blur caused by the ground shifting under the tripod during an exposure or wind vibration. Also, be sure that the tripod attachment plate is screwed tightly on your camera and the adjustment levers/knobs are fully tightened on the tripod legs and head. If any part of your tripod is loose, your camera could shift during an exposure and it will be more prone to vibration caused by mirror slap, inadvertent bumps, or a slight breeze. When the knobs/levers on your tripod head are fully tightened, your camera should not wobble at all when you give it a slight nudge; if it does wobble, check that everything is tight, and, if it is, you may need to tighten another part of your tripod head or you may need a higher quality tripod / tripod head to support your gear.
10) Don’t forget to charge your battery, your extra battery, and install a memory card with plenty of capacity before you head to your shooting location!
Even though it’s much faster to download pictures from my camera by inserting the memory card directly into my computer’s card reader, I always leave the memory card in my camera and download pictures using a USB cord because I would otherwise invariably forget to reinstall the memory card in my camera. You should always bring a spare battery and keep it warm in an inner pocket so if cold weather prematurely drains the one in your camera you can swap in the spare while you re-warm the cold battery. If the aurora dances all night, you may very well need two full batteries to last you through the night; besides potentially taking hundreds of exposures, you may be using the LCD much more than usual to focus, compose images, review images, change settings, etc.
11) Don’t rely on the infinity mark on your lens’s focus ring to focus your lens! Always confirm you are in focus by reviewing test shots!
Focusing on the stars at night can be difficult because using autofocus is often impossible. The infinity mark on most lenses is not usually accurate, so don’t blindly set your focus to the infinity mark and expect your stars to be sharp. There are many techniques for focusing at night, which you can read about in my guide and many other places online. It’s critically important that you achieve accurate focus if you want your shots to look good, so take a couple test shots and zoom in as much as possible on the display to confirm you are in sharp focus. (There is not enough resolution on your camera’s display to tell if your shots are in focus without zooming in, so don’t rely on the full-screen image preview.) The stars in your image should look like tiny pinpoints and not blurry discs, and the edges of static objects in the foreground (e.g., trees, mountains, rocks, etc.) should be sharp. Don’t forget your reading glasses if you need them to see your display.