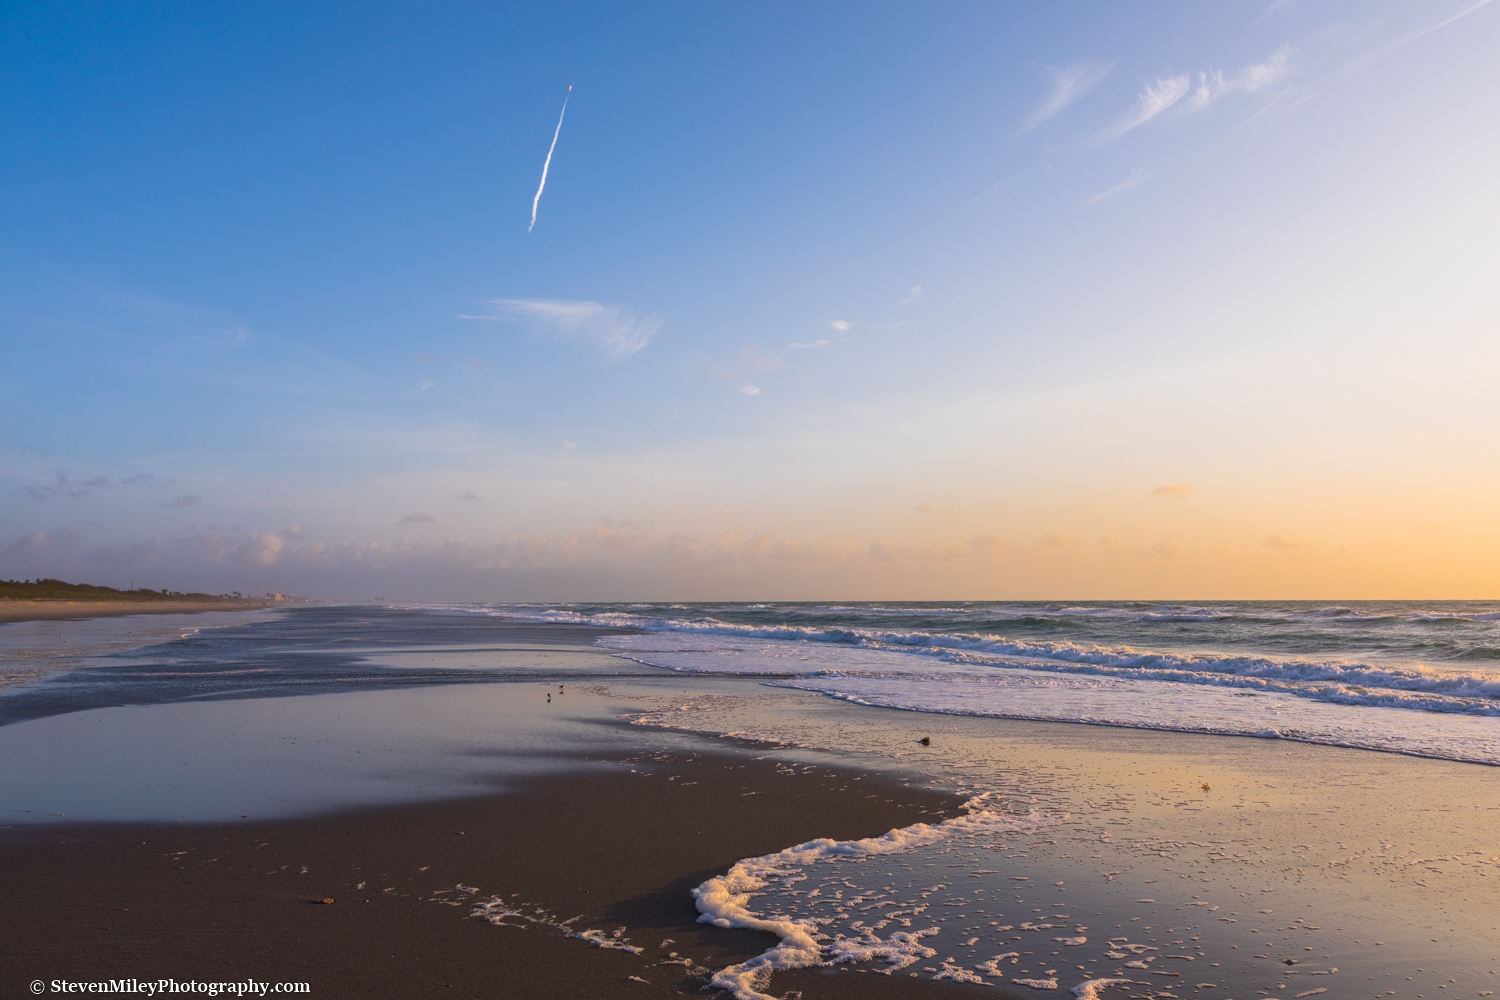
Sunrise illuminates offshore rain clouds over the Atlantic Ocean. Cocoa Beach, Florida.
I frequently visit Florida to see family and friends, but for various reasons I usually photograph very little while I'm there. For my recent two-week visit to the Sunshine State, I decided to change that and planned to shoot everything from alligators to rocket launches. This post includes some of my favorite images from my trip, though I had to leave several out.
I spent one Saturday with my family at Sebastian Inlet State Park. The last time I visited the park was about 15 years ago, but I clearly remember going there with my dad to take pictures of the sunrise using a film camera. The jetties are always full of fishers, and I like how they appear to be literally facing the storm when the weather is bad and the waves are crashing against the rocks.

Fishers on the south jetty of Sebastian Inlet State Park, Florida.
I made a couple trips to the Viera Wetlands to photograph wildlife. During one trip, my brother spotted a green heron, and we watched it snatch a crayfish out of the water, flashing its crest afterward.

Green heron in the Viera Wetlands. Viera, Florida.
The waves were up one Monday and dozens of Satellite Beach residents must have called in sick to go surfing at Pelican Beach Park. I only had a 300mm lens at my disposal so I compensated by standing in the water (I've done riskier things with my camera in Alaska) and relying on the extra megapixels of the Canon 5D Mark IV to crop in closer. I had never seen a paddleboarder ride heavy surf before but the only paddleboarder at the beach that day made it look easy and somewhat epic. I took several cool shots over a few hours and came away thinking surfing photographer must be one of the most enjoyable jobs in the world.

Paddleboarder riding big surf in Satellite Beach, Florida.
A year or so ago on a previous Florida visit, I drove over the Eau Gallie Causeway and was startled by a new mural of a great white shark painted on the side of a building in the Eau Gallie Arts District. Many people think the mural is distasteful, but I can't get enough of it. When it comes into view from the road, the shark appears to be eating the cars in the parking lot next to the building. I finally stopped to snap a picture.
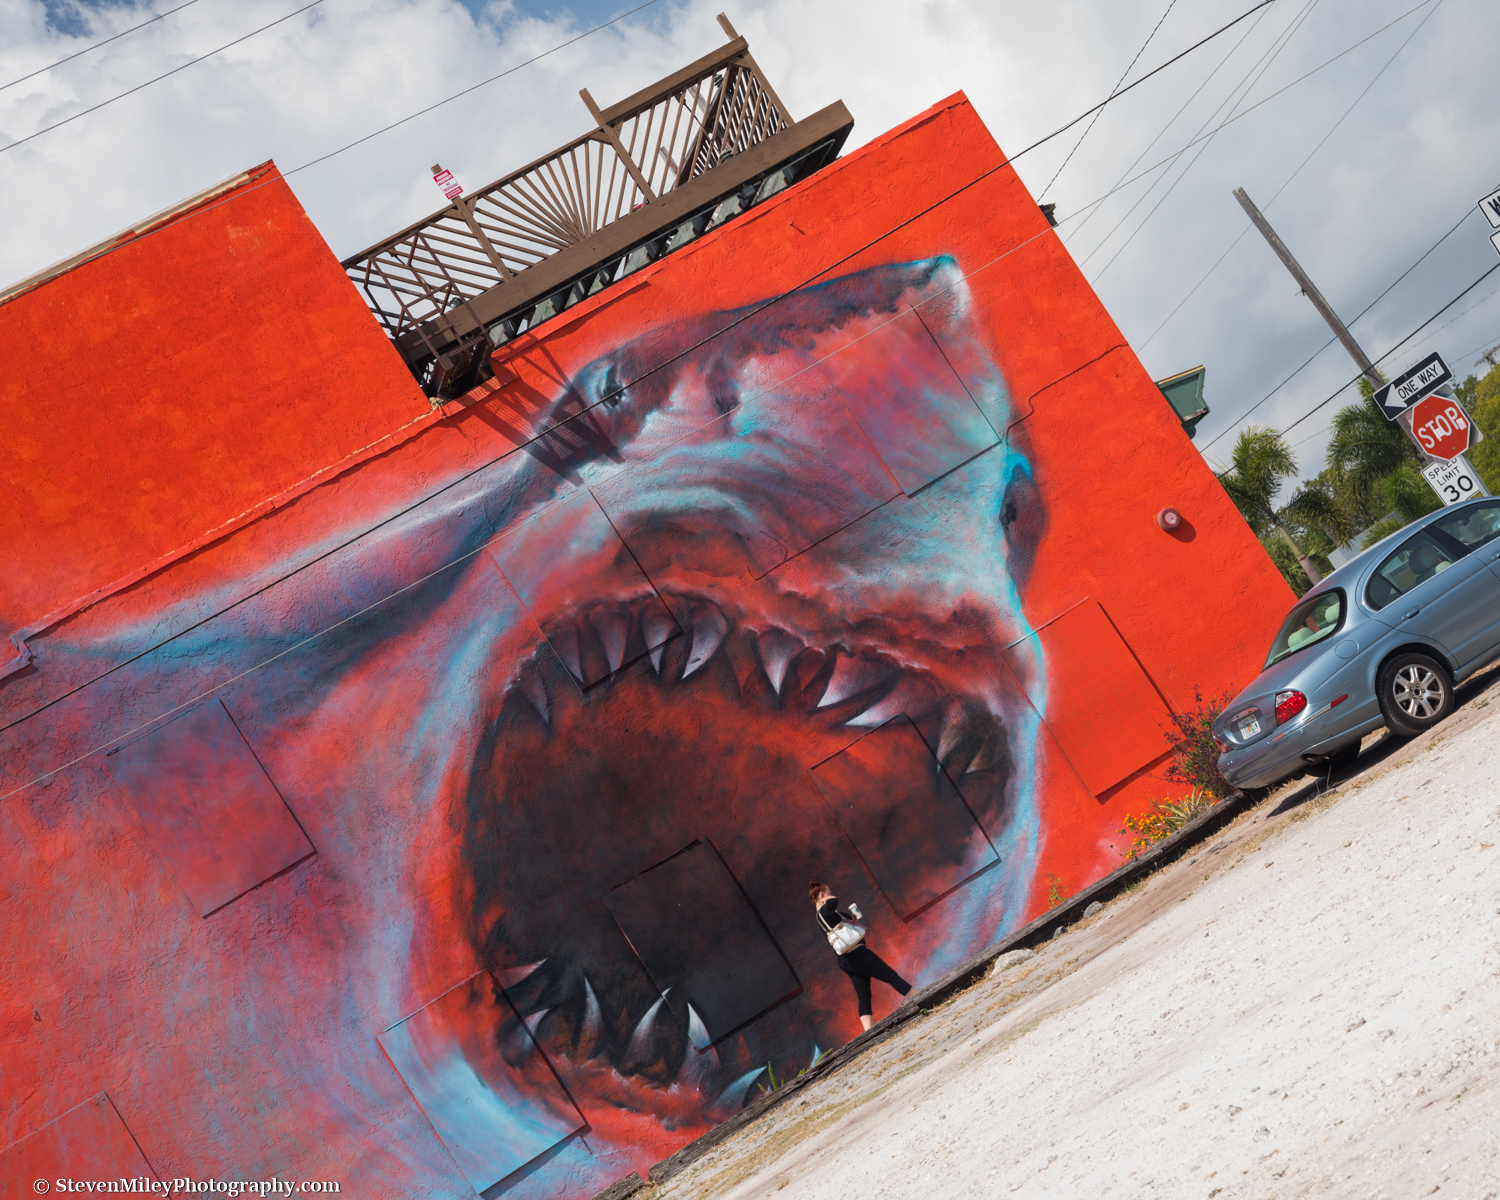
My favorite artwork in the entire world. Eau Gallie Arts District, Melbourne, Florida.
I kayaked the Sebastian River for the first time with my family. We encountered only a few other groups of paddlers and a couple boaters on the river, despite it being a Saturday with perfect weather. Fish leapt around our kayaks as we paddled past sabal palms, and we encountered a group of baby alligators as well as one big 12-footer swimming across the river. I took pictures of my family while they struggled to pass a pinch point where a submerged log forced them up against a tangle of vines. It was a fun paddle, but the next time I visit Florida I plan to execute a more adventurous kayak trip through the Everglades.

Kayaking past a cluster of sabal palms on the Sebastian River.
On April 30, I woke up early to photograph a SpaceX Falcon 9 rocket launch. The rocket was scheduled to launch at 7:00 am, shortly after the start of the U.S.A Beach Running Championships half-marathon & 10k in Cocoa Beach. My idea was to photograph the rocket launching behind the huge crowd of people running along the beach after sunrise, and I set up my gear about 2.5 miles from the starting line to be in the right spot. I photographed an amazing sunrise while waiting for the launch, watching as offshore rain fell next to the rising sun over the Atlantic Ocean. About two minutes before liftoff, a passing shower started pelting me with heavy rain, and I dug the raincover out of my backpack to cover my camera while the other spectators on the beach ran for shelter. I checked the launch status on my phone and saw it had been delayed until 7:15, so I put my camera in my bag and stood patiently in the rain until it stopped falling about five minutes later. Soaked, I pulled the camera back out and took some shots of the racers as they jogged by, keeping track of the countdown on my phone. Just as I was readying to press the shutter release at 7:14, I heard someone yell, "It's scrubbed!"
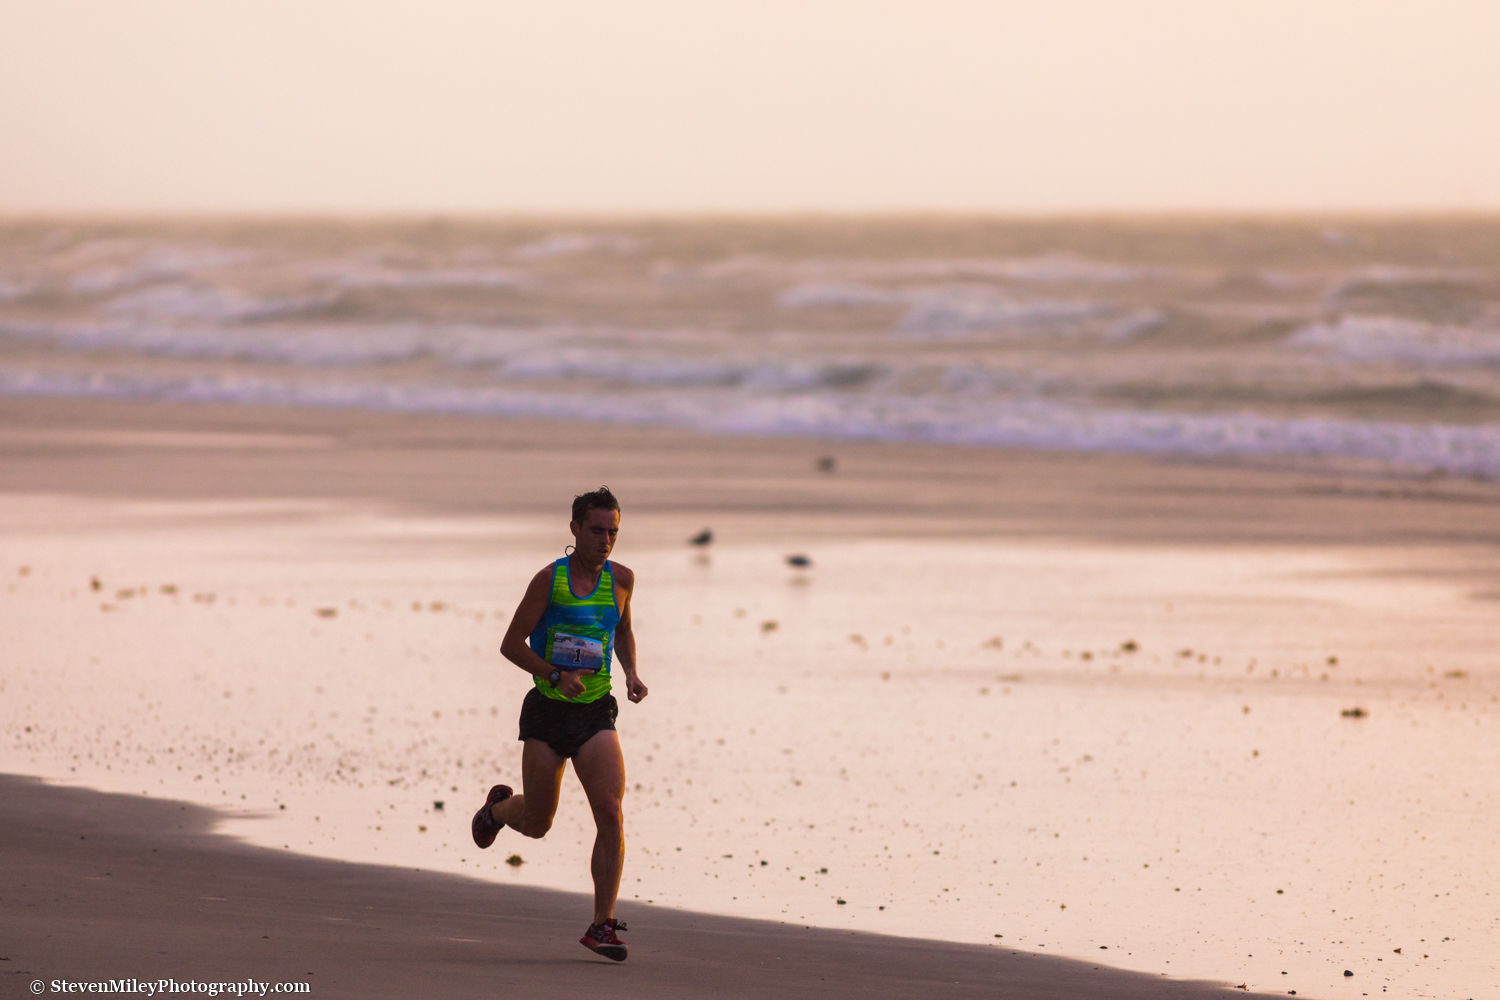
The first runner in the U.S.A. Beach Running Championships half-marathon to pass by while waiting for a Falcon 9 launch. Cocoa Beach, Florida.
I spent a little while longer photographing the runners before leaving, wondering if the weather would cooperate for the next day's launch attempt.

A pair of paddleboarders sneak through a long line of runners participating in the U.S.A. Beach Running Championships. Cocoa Beach, FL.
The next morning, I set out to photograph the launch again, but I didn't have a solid plan for my shot. I settled on a quiet beach near Patrick Air Force Base where I would have a tranquil scene in the foreground. Liftoff was bumped to 7:15 am again so most of the sunrise color had faded from the sky by the time the rocket launched, and with the relatively small plume and fireball created by the rocket (compared to the space shuttle, at least) I was a little disappointed in the results. It was cool to see the first stage firing its engines as it descended through the sky on its way back to the landing pad, and the sonic boom it created rocked the beach a minute later as I was walking back to my vehicle.
A SpaceX Falcon 9 rocket shoots into space above a lonely section of beach near Patrick Air Force Base.
I didn't intend to leave Florida without some up-close shots of alligators. My brother and I visited Shark Valley in the Everglades, bicycling 15 miles along the tram trail in the park next to a slough containing hundreds of gators. When gators are basking in the sun, they are often very approachable and not particularly frightening. (For an adult male like me, anyway.) I had my choice of gators to photograph, and we even passed one that caught and swallowed a large fish whole.

Alligator basking in Everglades National Park, Florida.
We didn't encounter many people on the trail, except when one of the tram tours passed by. A vast wilderness full of wildlife with hardly any people around...it was almost like I was back in Alaska. The weather alternated between light rain and intense sun as we pedaled along.

My brother looks for alligators along the Shark Valley Tram Trail, Everglades National Park, Florida.
Besides alligators, we saw all sorts of birds, a few snakes, turtles, and some rather large snails.
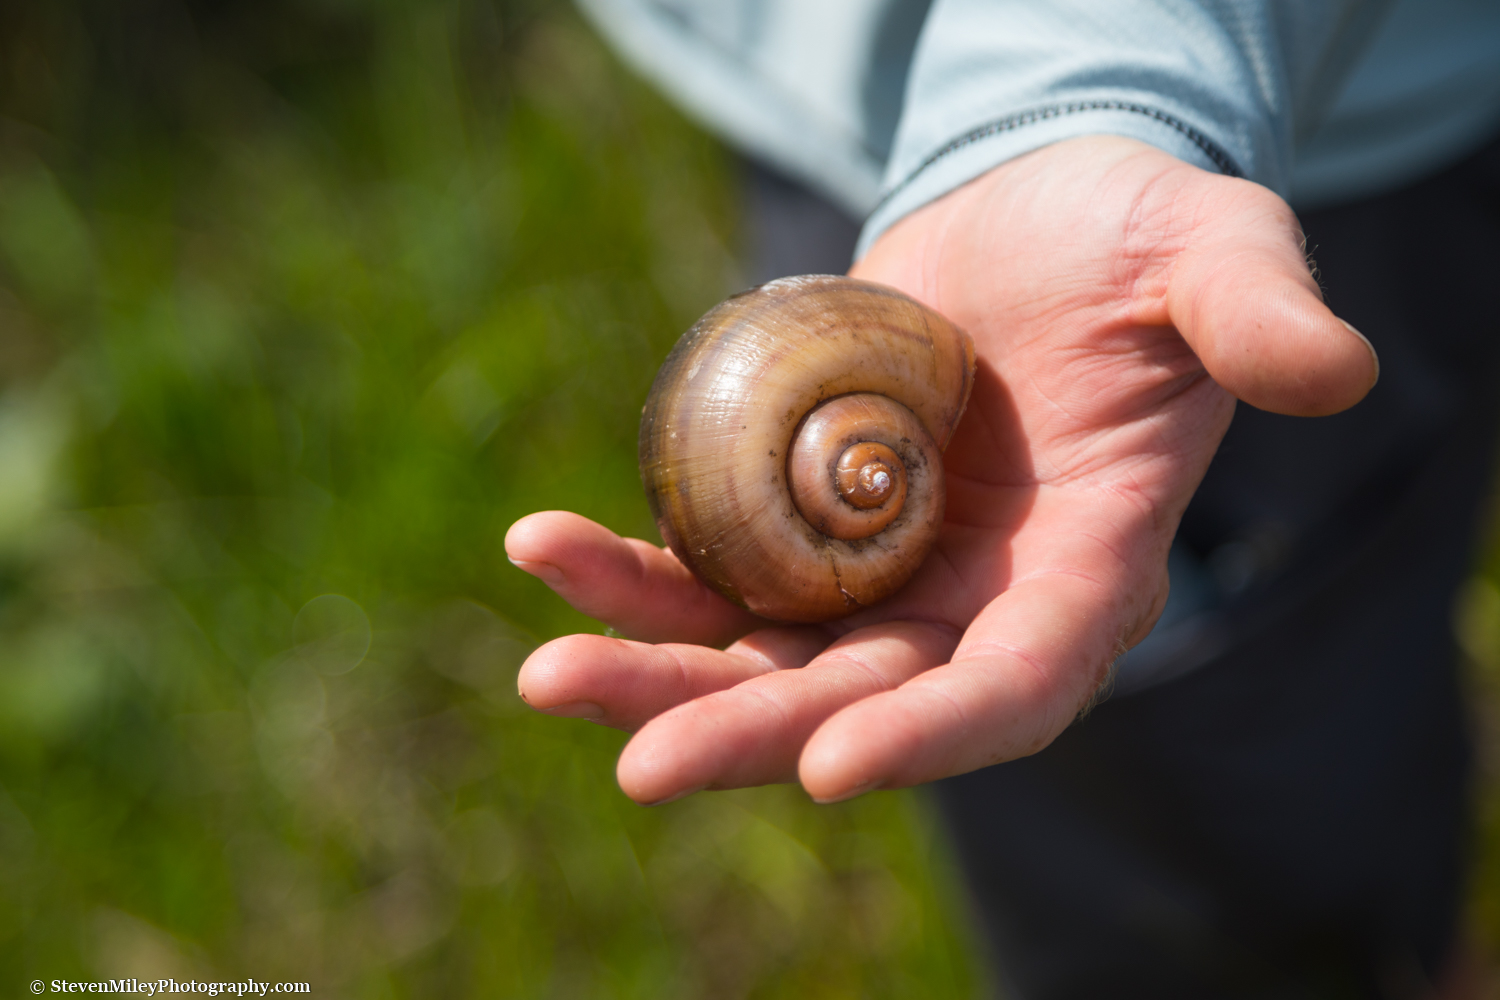
Florida applesnail. Everglades National Park, Florida.
The cloud cover in Florida is often favorable for good sunrises and sunsets, with water everywhere to create nice reflections. I photographed several during my trip, ranging from the mildly beautiful to the spectacular. The best part was not having to stay up until midnight or wake up before 4 am to catch them like I do in Alaska during the summer.
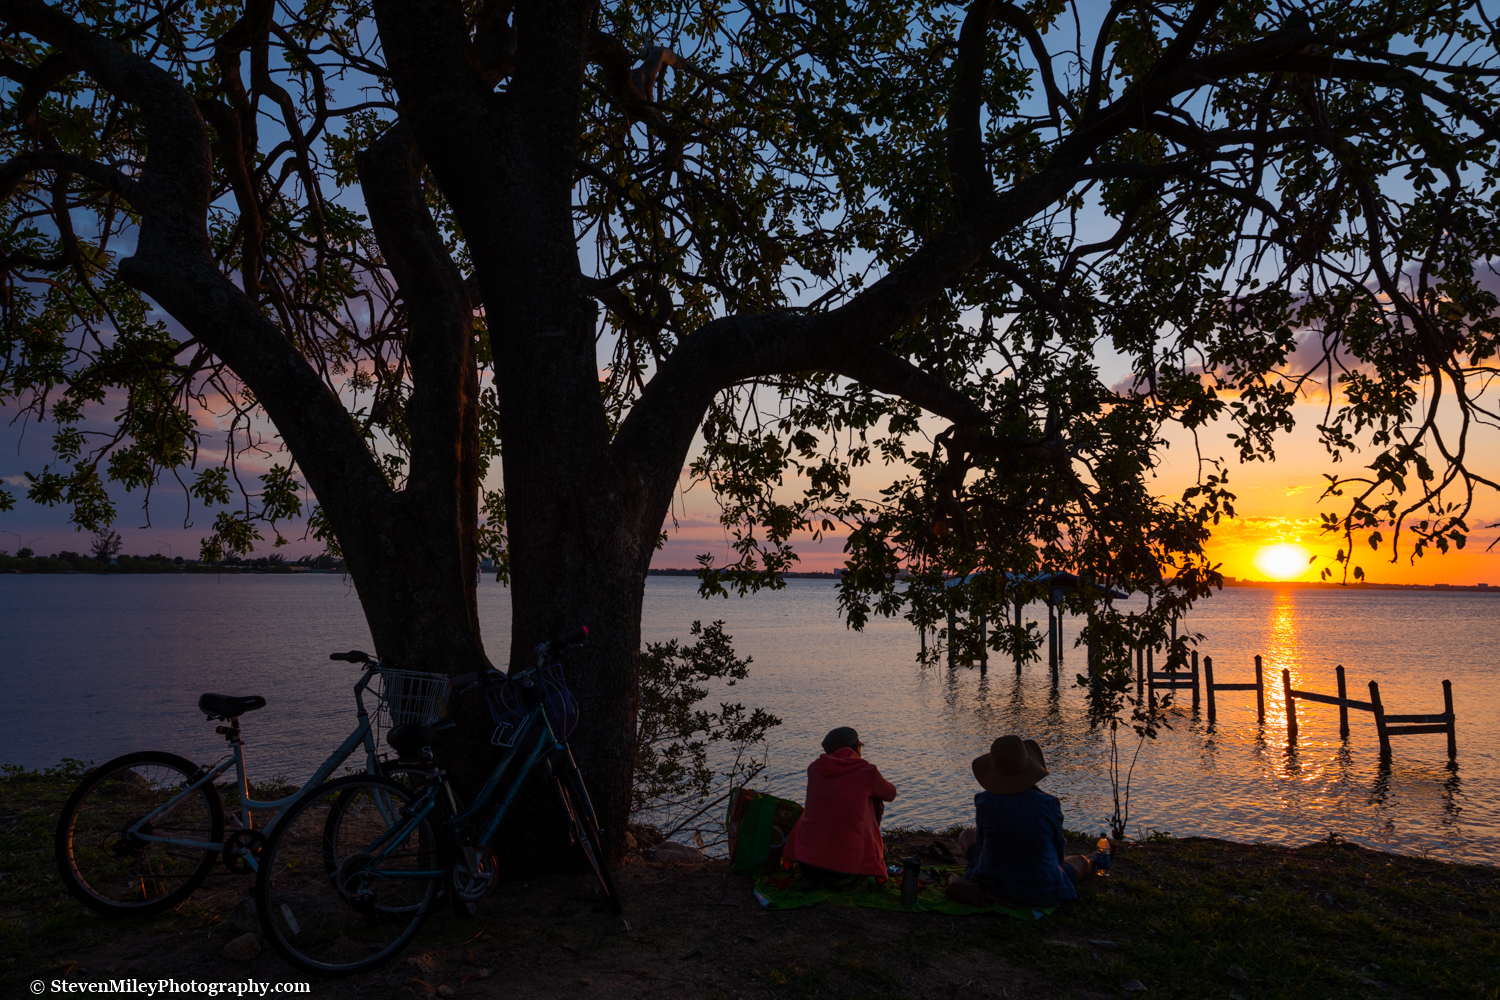
Life in Indialantic, Florida.
Florida won't be my only stop 'Outside' this year, as I plan to photograph the total solar eclipse in Oregon in late August. I'm also toying with the idea of a backpacking trip in the Grand Tetons in September. Meanwhile, though, it's time to start summer adventuring in Alaska!